Showing posts with label dessert. Show all posts

Wednesday, May 4, 2016

Flora and Fauna 1st Birthday Party

Flora and Fauna 1st Birthday Party Modern Kids

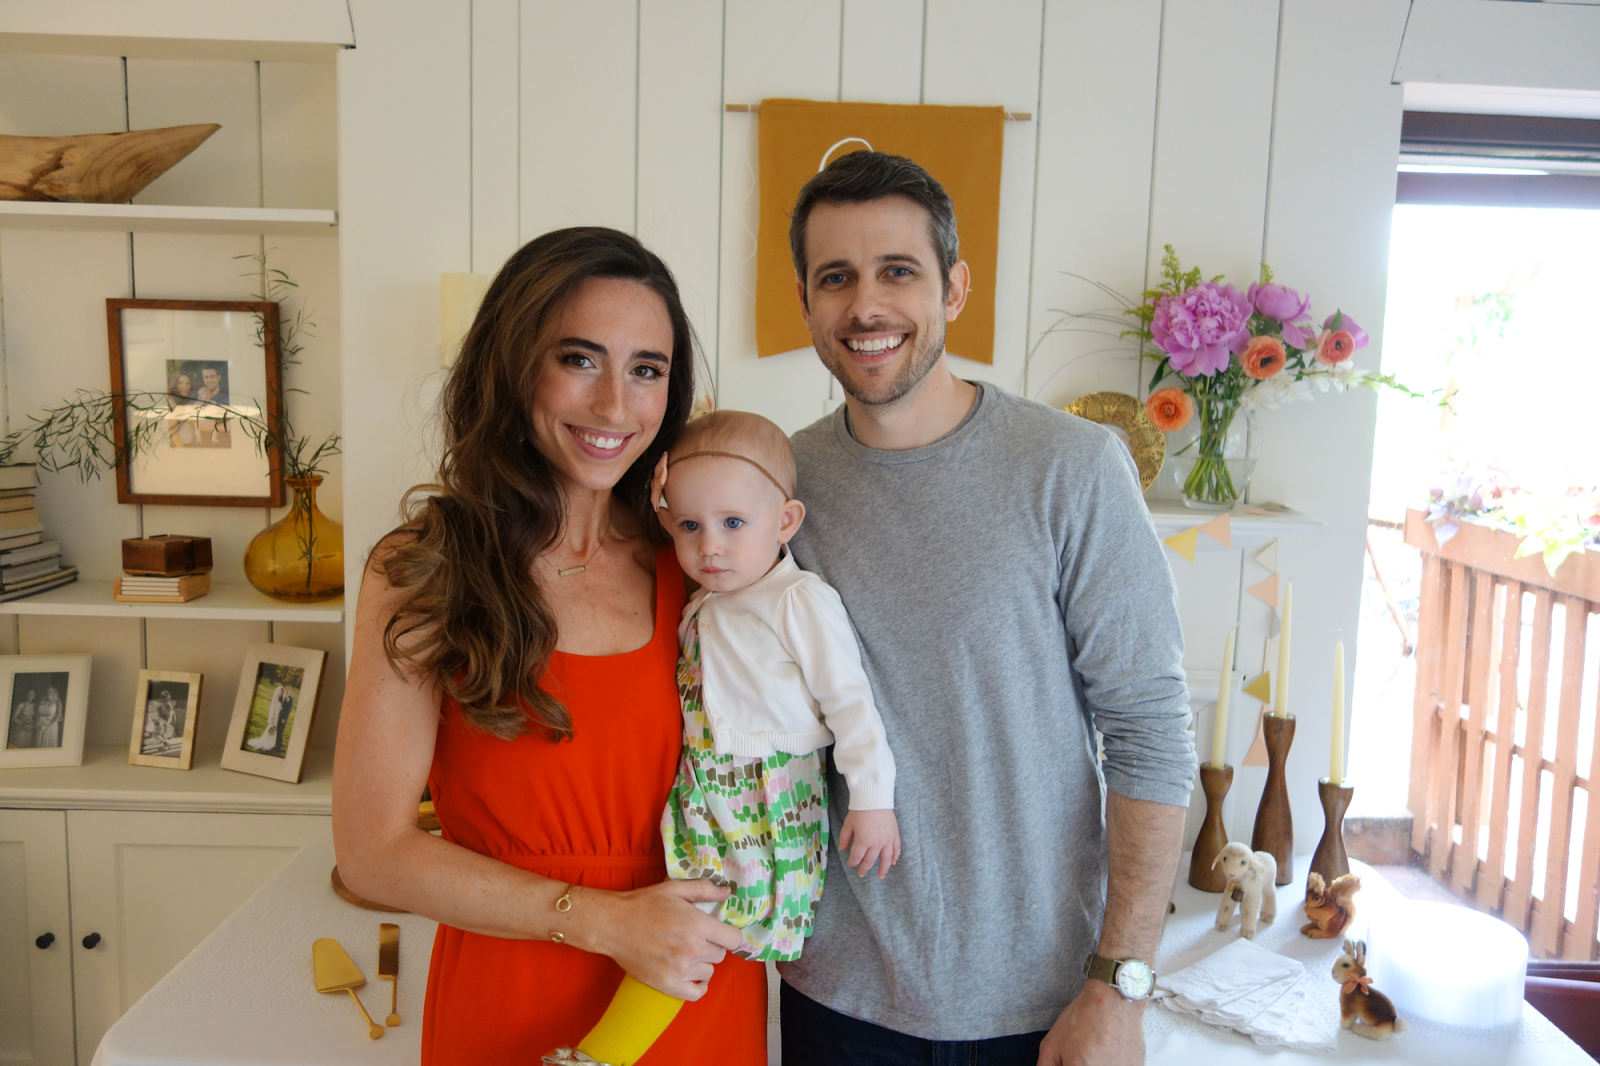
Our little gal Emerson turned 1 this past weekend and we went all out for her party. Some of our close friends and family came in from our of town to celebrate with us and it was a truly special day. Not to get too sappy, but this past year has easily been the best of our lives. Challenging, yes. But so very rewarding and full. Approaching her birthday, I got pretty emotional at the thought of Emerson going from a baby to a toddler. I already miss her cuddles and clings. However, her curiosity and excitement for discovering this world is contagious and I'm so ready for this fun next year together.

When I set out to plan her party, I really wanted to incorporate things she loved. Our house is set back into the woods and one of our favorite activities together is watching the woodland creatures in our backyard. We have wild turkeys, deer, chipmunks, squirrels and birds of all kinds. We really love animals around here. Emerson also adores the vintage Steiff animals my mother-in-law lent her and squeals every time she gets to pick one up and hold it. So a flora and fauna theme seemed like a perfect fit. 

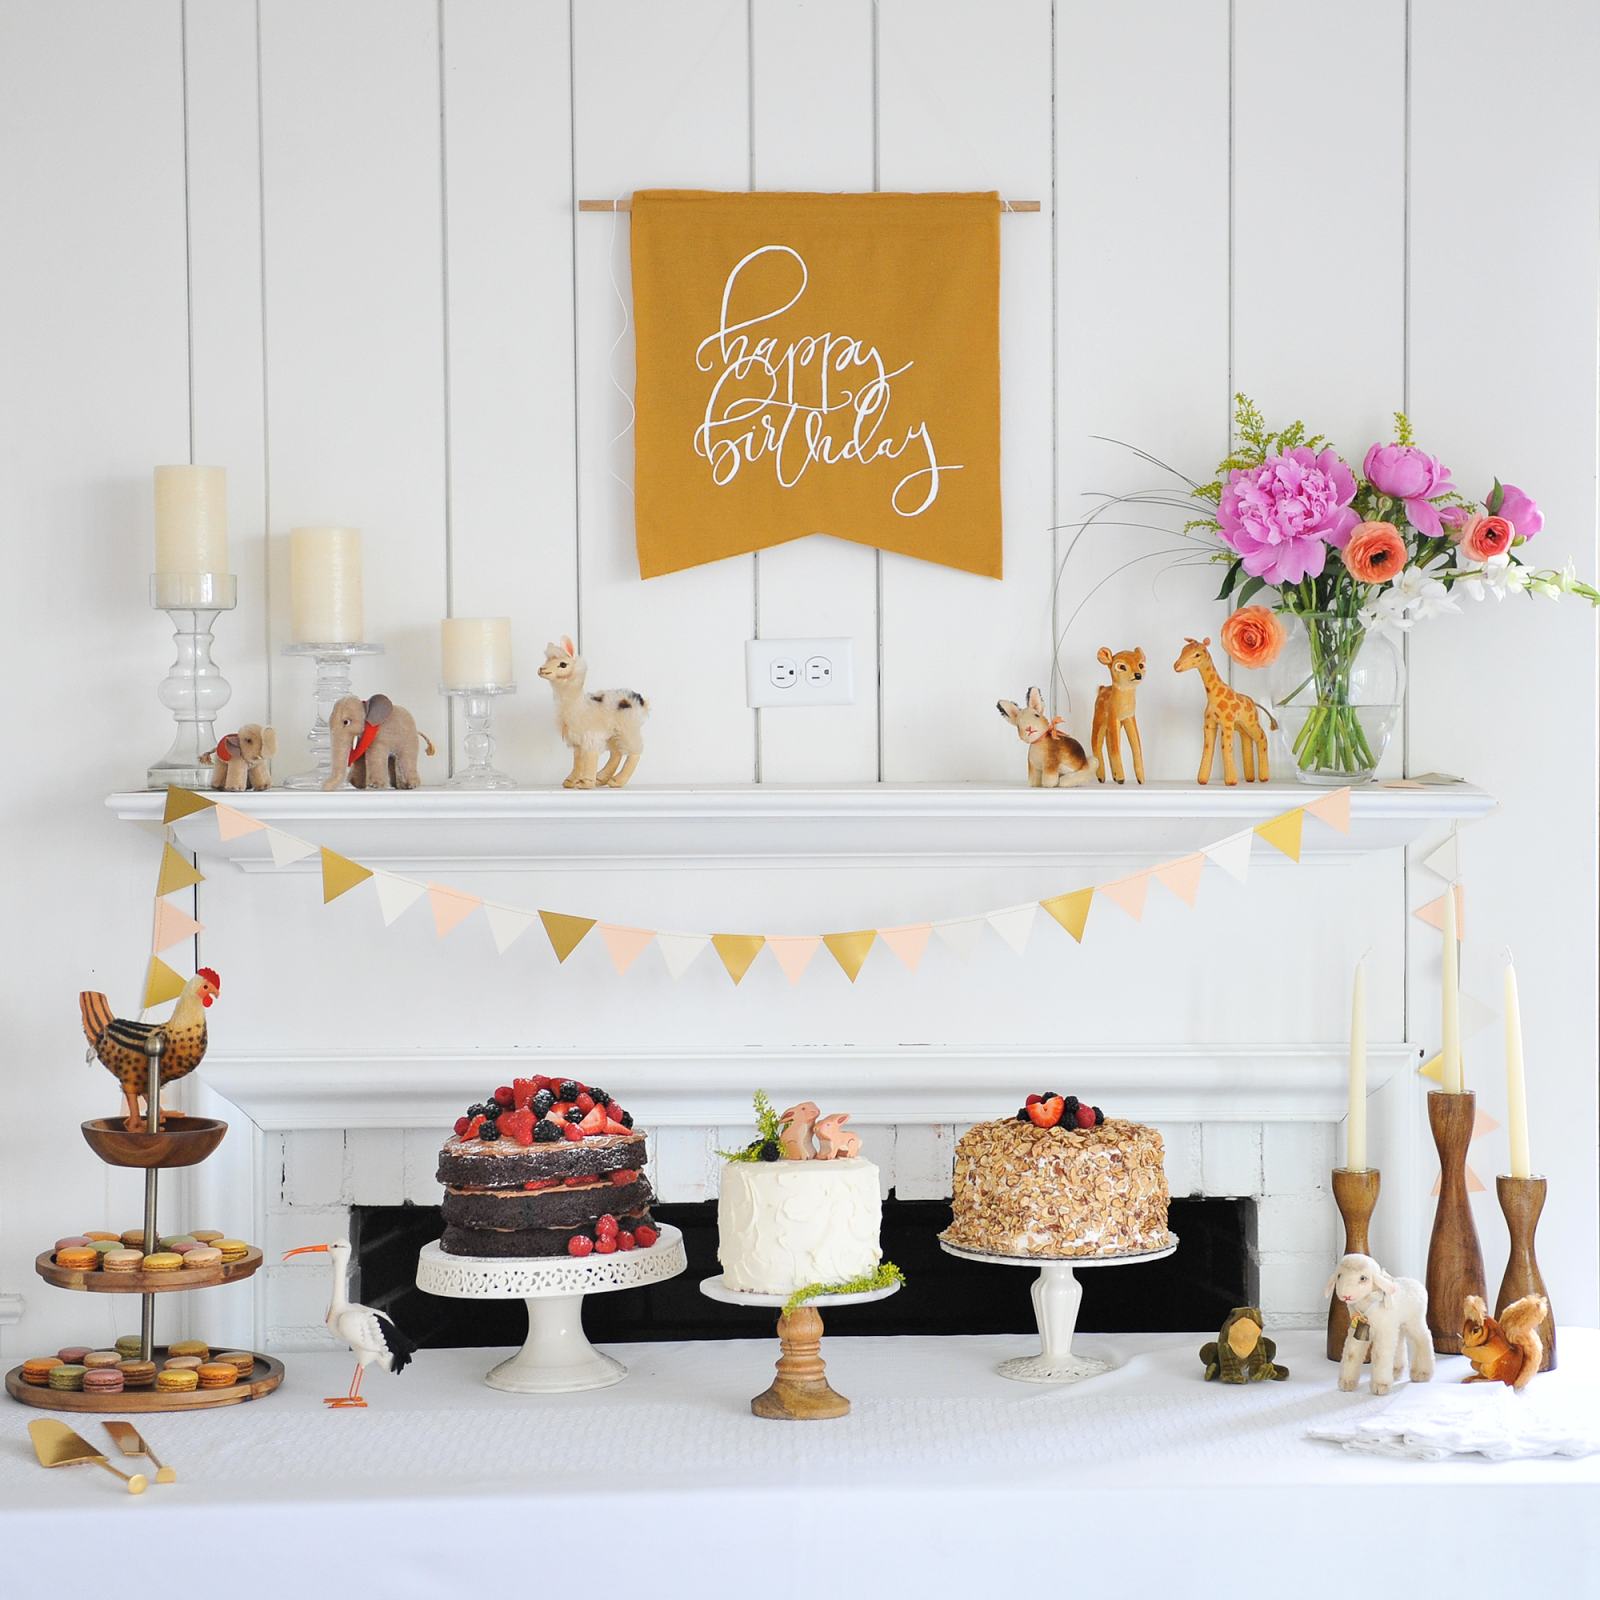
Many of the party details are DIYs-- the triangle garland, mustard wall banner and desserts and I've tried to describe how I made them below! 

Flora and Fauna 1st Birthday Party Modern Kids DIY

I originally set out to make Emerson's cake look much more polished than it turned out. But at 2am in the morning the night before the party, things got desperate and I decided to go for an impasto palette knife look. I really liked the way it turned out considering the circumstances and it was super easy to execute (frost a crumb layer, refrigerate, and then lather it on thick). 

Flora and Fauna 1st Birthday Party Modern Kids DIY
Flora and Fauna 1st Birthday Party Wall Hanging Banner

See the DIYs after the jump! 
Wall Hanging Banner and Triangle Garland DIY:

This birthday wall hanging banner is made from mustard fabric I got from the craft store (a yard of fabric is more than enough). I freehanded the banner shape and sewed the edges with a .5" seam. I used a dowel rod from Lowe's cut to around 20" to hang it. For the handwriting, Lauren Saylor of a fabulous fete, had a "happy birthday" overlay available via the Studio app that I used as inspiration. I freehanded the writing onto tracing paper and then traced the back of the paper so the lead would transfer onto the fabric when pressed. Then I used a white acrylic paint with a fine tip brush to write out the lettering.

For the triangle paper garland, I used metallic gold, ivory and pale blush card stock paper alongside mustard colored thread. I cut the card stock into triangle about 2" tall. Then I ran them through my sewing machine with the mustard thread and voila! Easiest paper garland ever. This seriously took less than a half hour to make, including the cutting. 

Flora and Fauna 1st Birthday Party Modern Kids
Flora and Fauna 1st Birthday Party Infused Waters

The beverages included a cucumber and orange infused water, a strawberry and lemon infused water and a mint lemonade. 

Flora and Fauna 1st Birthday Party Lilacs and Steiff Animals
Flora and Fauna 1st Birthday Party Modern Kids
Flora and Fauna 1st Birthday Party Lilacs and Steiff Animals

I hadn't planned to incorporate lilacs into the floral arrangements, but when I went flower shopping the Friday before, these massive lilac bunches hit me so hard and I instantly fell in love. All the lilac bushes around our neighborhood were suddenly in full bloom, so I knew that having them around the house for the party would remind me of this amazing spring season. 

Flora and Fauna 1st Birthday Party Modern Kids
Flora and Fauna 1st Birthday Party Table SpreadFlora and Fauna 1st Birthday Party Modern Kids
Flora and Fauna 1st Birthday Party Modern Kids Erin Kelly
Flora and Fauna 1st Birthday Party Modern Kids Grandparents

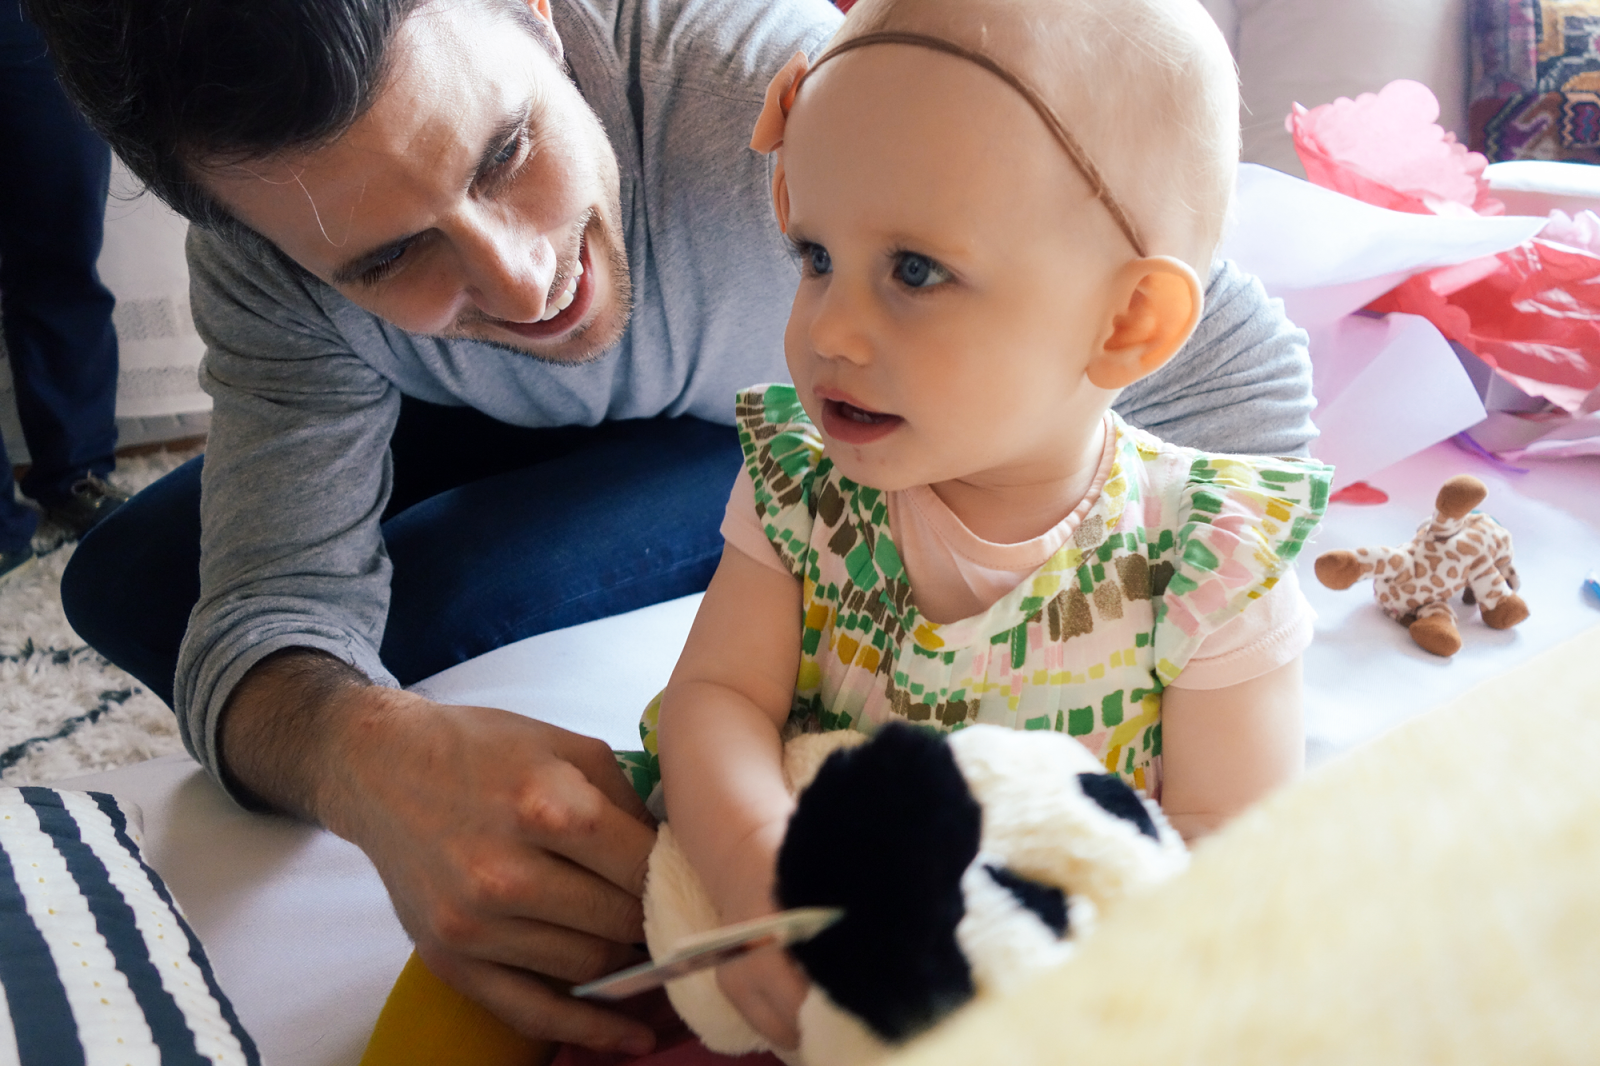
This face of hers in the photo above with my mom and dad, her Ammi and Poppy, so totally embodies her personality-- full of life and wonder. 
Flora and Fauna 1st Birthday Party Rich Kelly
Flora and Fauna 1st Birthday Party Modern Kids
Flora and Fauna 1st Birthday Party Smash Cake
Flora and Fauna 1st Birthday Party Erin and Rich Kelly

 Fabric Wall Hanging Banner: DIY (above) // Triangle Paper Garland: DIY (above) // Flowers: Arranged by Lindsey Bingaman and Sourced via The Farmer's Daughter Flowers // Desserts: Dark Chocolate and Smash cake were homemade and the Burnt Almond Torte via Oakmont Bakery, Macarons via Gaby et Jules // Cake stands and Platters: Antiques, Homegoods, Threshold for Target // Cake knife and server: Anthropologie // Decorative animals: vintage Steiff //  Photography: Erin Kelly Photography

Monday, June 22, 2015

Dark Chocolate Tiramisu Cake

Dark Chocolate Tiramisu with Hazelnuts and Meringue

Tiramisu has always been one of my husband's family favorites. So when my brother's girlfriend Alissa started bringing THE . BEST. TIRAMISU. EVER. to family get-togethers, I had to get the recipe. I think she makes the best variation (and her recipe is included below), but I took the liberty of switching her recipe up a bit to play around with some meringue and good ol' food styling. Click through to see both of the recipe and instructions... 

Dark Chocolate Tiramisu with Hazelnuts and Meringue

Preheat the oven to 350 degrees. Chop 3/4 cups of hazelnuts in a food processor. Spread evenly on a baking sheet and bake for 9 minutes, stirring every 3 minutes. After toasted, turn down the oven to 300 degrees. 

Dark Chocolate Tiramisu with Hazelnuts and Meringue

Whisk hazelnuts with corn starch and sugar. 

In a mixer with the whisk attachment, beat egg whites on medium until frothy. Slowly add sugar and beat on high until stiff peaks form. Gently fold in the hazelnut mixture. 

Dark Chocolate Tiramisu with Hazelnuts and Meringue

Pipe the meringue mixture onto parchment paper on a baking sheet. Bake at 300 degrees for 1 hour, rotating the sheet halfway through. 

Dark Chocolate Tiramisu with Hazelnuts and Meringue

While the meringue is baking, shave dark chocolate. Prepare lady fingers with coffee and Kahlua mixture and make cream filling.

Dark Chocolate Tiramisu with Hazelnuts and Meringue

To assemble, layer the meringue, cream,  and lady fingers, drizzling dark cocoa and shaved dark chocolate on the lady fingers layer. Repeat. 

Dark Chocolate Tiramisu with Hazelnuts and Meringue Lady Fingers
Dark Chocolate Tiramisu with Hazelnuts and Meringue
Dark Chocolate Tiramisu with Meringue


Dark Chocolate Tiramisu Cake Recipe

Meringue Layer Ingredients

3/4 cups raw hazelnuts
3 egg whites
3/4 cups caster sugar (superfine sugar)
2 tbsp. corn starch or corn flour
1/2 tsp. salt

Soaked Lady Fingers Layer Ingredients

1 box of Lady Finger cookies
1/4 cup strong coffee
1/4 cup espresso
1/4 cup Kahula or coffee liquor

Cream Layer Ingredients

1 1/2 cups Mascarpone cheese
10 oz. chilled heavy whipping cream
1 cup powdered sugar

Toppings 
Dark Cocoa
Dark Chocolate Bar (I used 70% Cacoa)

Instructions

Preheat the oven to 350 degrees. Chop 3/4 cups of hazelnuts in a food processor. Spread evenly on a baking sheet and bake for 9 minutes, stirring every 3 minutes. After toasted, turn down the oven to 300 degrees. Whisk the toasted hazelnuts with corn starch and 1/4 cup of sugar.

In a mixer with the whisk attachment, beat egg whites on medium until frothy. Slowly add 1/2 cup sugar and beat on high until stiff peaks form. Gently fold in the hazelnut mixture. Pipe the meringue mixture onto parchment paper on a baking sheet. Bake at 300 degrees for 1 hour, rotating the sheet halfway through. 

While the meringue is baking, shave the dark chocolate into ribbons. Set aside. 

In a large mixing bowl, mix heavy whipping on medium-high speed. Add Marscapone cheese and beat until smooth. Add powdered sugar slowly and beat until fluffy. 

Mix the room temperature espresso, coffee and Kahlua together in a bowl. Using a pastry brush, spread the coffee mixture on the Lady Fingers. 

To assemble, layer the meringue, cream,  and lady fingers, drizzling dark cocoa and shaved dark chocolate on the lady fingers layer. Repeat. Refrigerate overnight for best results.


Dark Chocolate Tiramisu [TRADITIONAL VERSION]

1/2 cup strong coffee, at room temperature
1/2 cup espresso, at room temperature
1/4 cup Kahlua or other coffee liquor
3 boxes of Lady Fingers
20 oz chilled heavy whipping cream
2 8oz container Mascarpone cheese
3/4 cup sugar (I used powdered sugar)
1/2 cup grated dark chocolate
3 Tbsp dark cocoa powder

In 2 quart rectangular baking dish, arrange Lady Fingers, breaking as necessary, to completely cover the bottom.  

In small bowl, stir coffee, espresso, and Kahlua.  Using a pastry brush, carefully brush lady fingers with coffee mixture to moisten completely. 

In large bowl, beat Marscapone cheese and sugar with electric mixer on medium speed two minutes, or until sugar is dissolved.  With mixer running, slowly add whipping cream and continue to beat until smooth and fluffy.  Spread half of the Marscapone cheese mixture over the softened Lady Fingers, sprinkle with grated chocolate.  Top with second layer of Lady Fingers, brush with remainder of coffee mixture and top with remaining Marscapone cheese.  Smooth surface and sift a think layer of cocoa powder over entire dish.  Cover with plastic wrap and chill in refrigerator overnight.  

Sunday, December 7, 2014

big news! we're having a BABY and it's a...

We are so very excited to announce that we're having a baby this spring!

I'm a few months along (almost 20 weeks to be exact) and hopefully that explains why I've been somewhat MIA around the blog lately. My second trimester of pregnancy has brought with it an influx of energy and excitement, so we've been diving full swing into nursery preparation and will have some really rad DIY's to share in the coming weeks (think a dresser, bookcase, and decor galore!) 

We had our midterm ultrasound this past weekend and found out the gender of our little peanut. To celebrate and surprise our families with the news, I made a special cake. And if I'm baking a celebration cake, you better believe I'm going to make it a gradient ombre layer cake.
I made this little garland of tassels out of some leftover tissue paper I had from our wedding crafts, twine and long wooden skewers. A step-by-step of the tassel garland DIY can be found below alongside the unbelievably delicious white cake and buttercream frosting recipe.

Anyways, back to the reveal! Without further ado, we're having a... GIRL! So pumped.

We are completely and utterly smitten and cannot wait for the weeks, months and years ahead! 

Would you want to, or did you, find out the gender of your baby ahead of time? And if so, did you do anything special to reveal the gender to your families? I love hearing about all of the creative ways people are revealing their little one's genders. People are so darn creative!

Gender Reveal Ombre Cake

White Cake recipe
Vanilla buttercream frosting recipe
6 inch wooden skewers
Tissue paper of your choosing
Twine
Clear dental floss
Scissors

Step 1: Make the white cake (recipe above). Divide batter into four equal parts. Put the first batch of cake batter back into the mixer and add the tiniest bit of icing color. Blend until combined. (Side note- if you're using icing color instead of liquid food coloring, be careful, this stuff is highly pigmented, so you will need a lot LESS than you'd think). Repeat this step with the remaining batches, increasing the amount of food coloring you add with each batch until you achieve the desired color. 

Step 2: Grease 6 inch cake pans and bake at 350 degrees for 33-36 minutes, or until a toothpick comes out clean. Let cakes cool in the baking pans for 5-7 minutes. Transfer to a wire rack to cool completely. 

Step: After cakes are cooled, frost the cakes and put them in the fridge while you make your tassel garland. 

Step 4: Cut the tissue papers of your choosing into long rectangular strips, about 2 inches long by 12 inches wide. Using scissors, make long cuts in the width to about .5 inches to the top. 

Step 5: Roll the tissue paper up and secure using clear dental floss. 

Step 6: Once all of your tassels are made, tie them to a piece of twine. Tie the twine to the long wooden skewers.

Monday, May 7, 2012

The Science of Baking

I have always loved the scientific absoluteness of baking. You get exactly what you put in. No beginner's luck, intuition, or gut feeling involved. Measure twice, mix once.

The temperature of the fats, eggs, and flour matters. The precision of each teaspoon matters. Every aspect of the process matters. And if you love the process of baking, getting a recipe just right can be one of most rewarding feelings. Baking is the opportunity for mastery at it's most sweetest.

Baking fats

In the journey to chocolate chip cookie perfection, I played with my favorite go-to recipe to visualize the differences between fats. The first batch was made of high-quality European butter. The second batch was pure lard. The third batch was butter-flavored Crisco. So, I have to ask...

Which cookie looks best to you?

Wednesday, March 14, 2012

happiest

of days to my dear Richard!

DSC_0956


cake and boiler

For your birthday, a poem inspired by Nathan Sims...

richie poem

Photobucket

birthday collage 2

And a sneaky little birthday gift...

ipad BOOK

Watch closely...

Photobucket

cake outside

Dark Chocolate Chip Bundt Cake
  • 1 box of Duncan Hines Butter Chocolate Cake mix
  • 1 3oz chocolate fudge pudding box
  • 1 cup sour cream
  • 1/2 c Kahlua or cooled brewed coffee
  • 1/2 c of canola or vegetable oil
  • 3 eggs
  • 1pkg of dark or semisweet chocolate chips
Add all ingredients except the chocolate chips, beat 4 minutes with mixer on med high. Pour 1/2 of the mix in greased and floured bundt or tube pan with removable bottom. Add 1/2 chips on batter and slightly swirl to coat. Add remaining batter And the remaining chips. Swirl to coat chips. Bake at 350 for about 1 hour. Let pan cool on rack for ten minutes then turn cake out to plate to finish cooling. Cake can be frosted with ganache or powdered with confectioners sugar.

Saturday, February 18, 2012

The Race to a New Chocolate Chip Cookie

It took ten years for me to master my mom's chocolate chip cookie recipe. The process taught me baking, chemistry, and the importance of precision and exploration in the kitchen. They were my first baking love. But I want to master new recipes this year and I'm on the hunt for a go-to chocolate chip cookie. I'll be experimenting and sharing over the next few weeks.

C is for cookies

Today's cookies were made with a recipe involving peanut butter and a little sea salt. The flavor was rich and crisp with a salty and sweet aftertaste that I love. They were easy on the taste-buds.

The shape and texture of these cookies reminded me of the moon. So I made a lunar calendar with phases of a cookie. Wouldn't this be a fun poster?

Linear Cookie Calendar

Ingredients
  • 1 cup cake flour
  • 1 cup bread flour
  • 1 teaspoon baking soda
  • 1 teaspoon baking powder
  • 1 1/2 teaspoon salt
  • 1 1/4 cup unsalted butter
  • 1 cup creamy peanut butter
  • 1 1/4 cup light brown sugar
  • 1 cup granulated sugar
  • 2 large eggs
  • 2 teaspoon vanilla extract
  • 1 lbs. semisweet chocolate chips
Directions
  • Sift flour, baking soda, powder and salt in a stainless steel bowl and set aside
  • Cream butter, peanut butter and sugars together
  • Add vanilla and eggs one at a time, mixing well after each
  • Add dry ingredients until just combined
  • Add chocolate chips and mix with a wooden spoon until evenly distributed
  • Chill dough for at least one hour
  • Scoop 1/8 cup dough onto baking sheet and sprinkle top with sea salt. Bake at 350 degrees for 15-18 minutes until the sides begin to brown
  • Remove the baking sheet and place on wire rack to cool for 12-15 minutes ON BAKING SHEET and then transfer cookies to wire rack to finish cooling completely